Android Studio runs on Java Runtime Environment (JRE). JRE can be installed on Windows, Mac and Linux computers. We need to follow the steps given below for the installation of Android Studio independent of our operating system
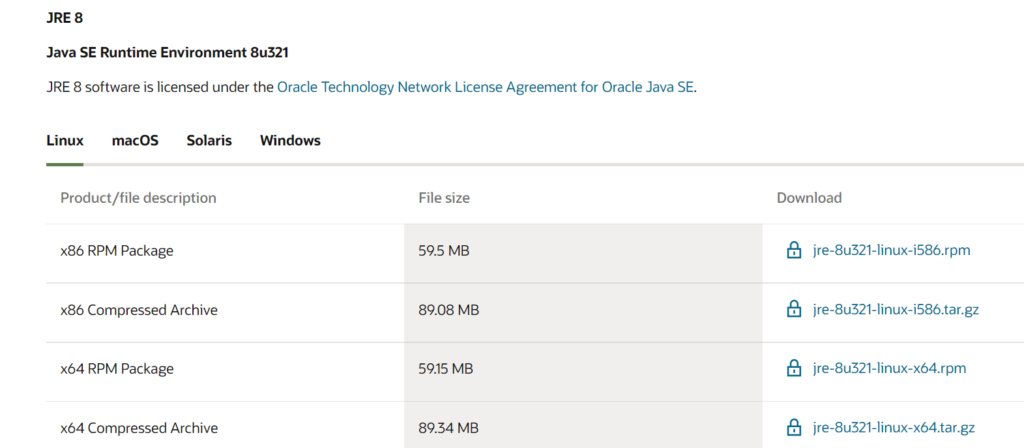
Installation of Java: Java is developed by Oracle Inc. There are basically two Java packages: Java Runtime Environment (JRE) and Java Software Development Kit (JDK). JRE is used for running software written in Java programming language whereas JDK is utilized for developing Java software. Therefore, installing JRE is adequate for running Android Studio
Link to download JRE
https://www.oracle.com/java/technologies/downloads/#java8
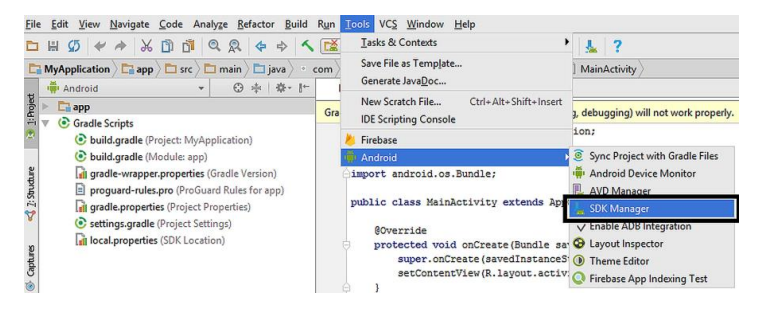
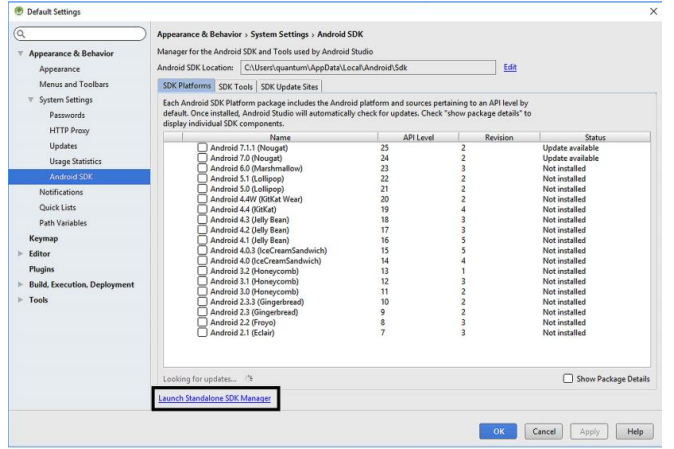
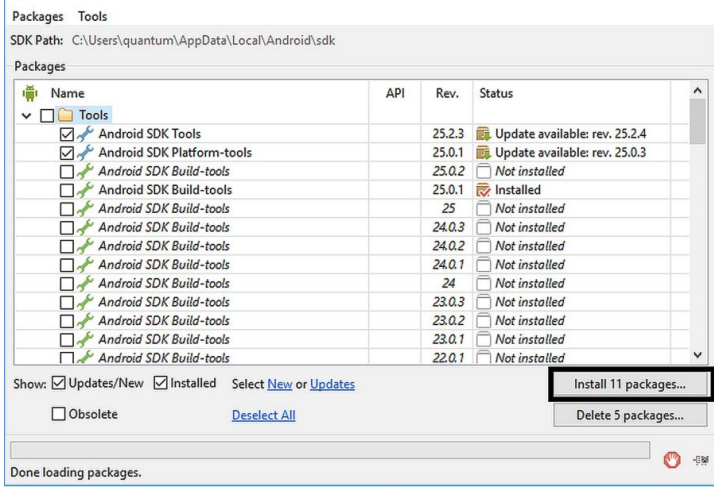
Installation of SDK updates: After the installation of Android Studio, it is better to check SDK updates. For this, run Android Studio and open the SDK manager from Tools -> Android -> SDK Manager as shown below:
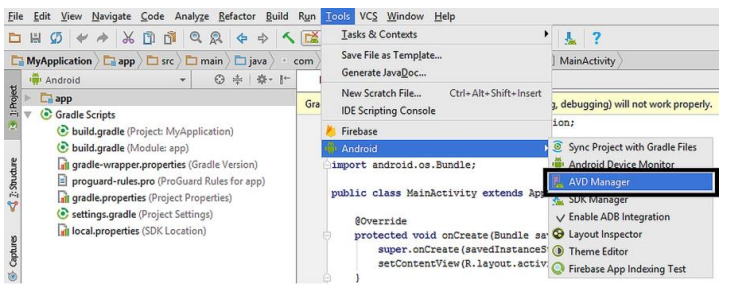
Installation of Emulators
Emulators are software that mimics the behaviour of real devices. When we develop an app, we obviously won‟t have all the possible devices (Android phones, tablets, etc.) available at hand. Because of this, we run the apps on emulators for testing on various devices. Emulators are also called as “Android Virtual Devices (AVDs)” in Android Studio. When Android Studio is first installed, there is no default AVD. We need to create one before testing our apps. For this, select Tools -> Android -> AVD Manager as shown